We actually started cleaning up the spot where we were planning to put the round pen earlier this spring, but we stopped when we got to the stuff requiring equipment to move. It was just sort of a storage area. Odds and ends, old barb wire, a rotting trailer, piles of logs, and even my horse trailer were all parked where the round pen was to go.
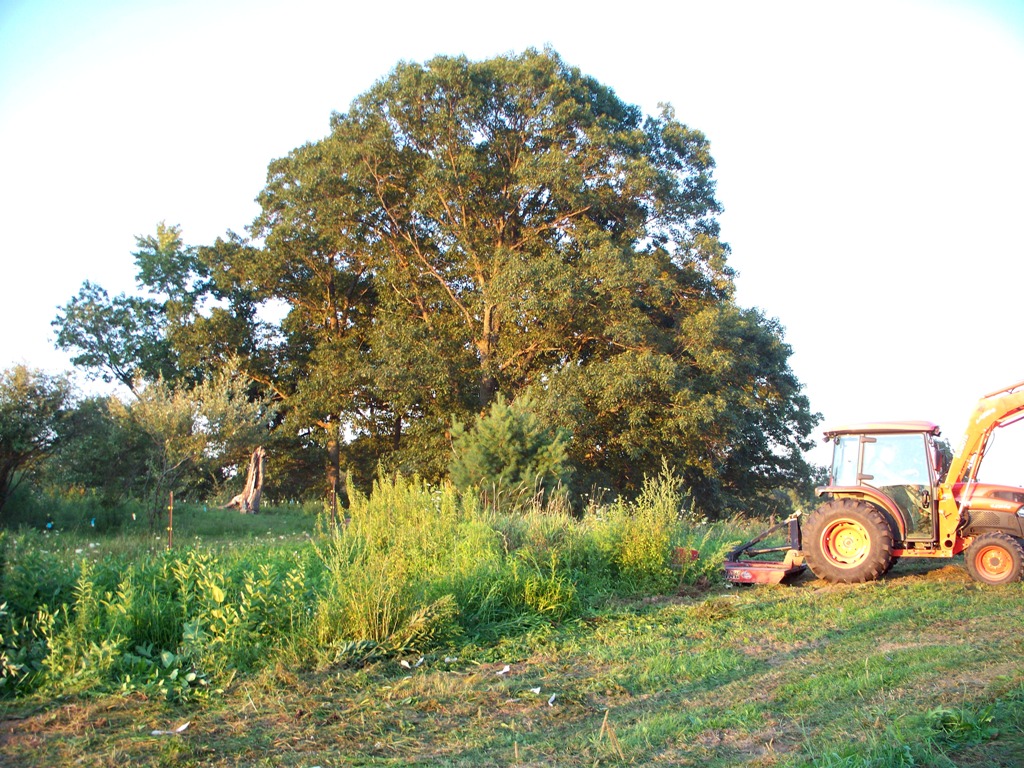
So, we jumped in where we left off and started moving the large heavy items out of the spot. I didn't think to get my camera out until they were almost ready to mow all the weeds down after moving all the stuff. It sure is nice to have equipment available to do all the moving stuff. The orange tractor belongs to my dad, and the bobcat is equipment that my husband owns with his business.

This is more equipment my husband owns with his business. A laser to measure and make sure the area is completely level. Awesome!

Now the area is pretty much flattened.

The final base of the round pen is set below the grade of the surrounding ground by about 5-6 inches. The base is sloped toward the center and the center will have drain tile dug in to make sure the pen drains well. It is also on the top of a hill, so it won't have water collecting into it.

Three loads of sand were delivered. We ended up buying sand instead of getting it from our neighbor because it is screened and rocks removed then. Even so, it is pretty inexpensive.

Before the sand was delivered, my husband used another piece of his equipment to dig the drain trench. The base grade of the pen is the lowest in the center, and the drain trench grade is highest in the center.

In the trench, we laid the drain tile (not sure why they call it "tile"). It is basically black plastic pipe that has slits in it so water can enter it. The outside is wrapped in a fine mesh fabric to keep sand out of the pipe.

Then we filled in around the pipe with sand. My husband really is the most amazing guy. He is so good about helping me complete my big projects that I couldn't do without him. And he is such a perfectionist! I'm not sure I've heard of anyone else whose round pen had drain tile under it!


Then we spread the sand with the bucket of the bobcat.
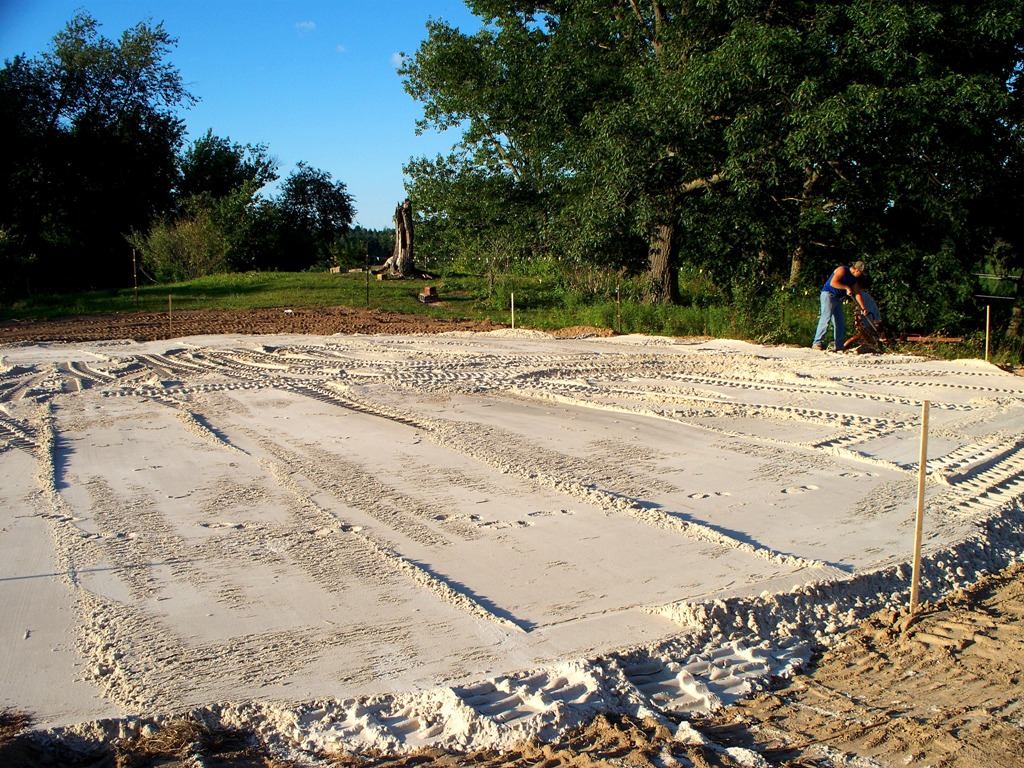
Doesn't it look nice!?

From this view standing below the grade of the round pen, you can see where the drain tile exits the base. I think it will drain well! I hope.

And of course, the round pen area is now a big sand box. And my baby girl was right there 'helping' all along.

On the last evening of the project, we brought the panels over and set them up. They were being used to sort cattle at the farm, so they are a little "poopy" but the rain will wash them off!

Wren is always in the middle of everything we do. Here she is holding onto the stake marking the center of the roundpen.

The horses are always around watching our activities with sometimes intense curiosity, sometimes boredom...little do they know what's in store for them!

As I mentioned in a previous post, we got these panels from the Chubby Baird Gate Co. They are 6ft tall and made with extra heavy duty steel. They are HEAVY! The links between panels are a pin-type attachment. I really like them. The only thing I don't like is that the way the the panels attach leaves a gap between them...and you know horses. Horses can find the most unlikely places to get hung up. So I can see potential for a leg or even a neck if a rearing horse were to hit the panel in just the right spot to get stuck. So they could be safer. But I think they will be fine. I try to never push my horses so hard that they want to escape by jumping the panels. And because we have 2 gates we've actually increased the diameter of the round pen. It is technically a 54 foot round pen.


From start to finish, this project took 9 days to complete, 10 if you count the day early this spring when we moved the smaller stuff. Of course, we didn't work on it all day long, mostly in the evenings after work. And of course, we are not quite done yet, but it is now completely functional. We still have to seed and mulch the surrounding landscaping, and then after the grass is established, we will reroute the fence back to where it was (we moved it back to make room for the landscaping). If you notice, there are two gates in the round pen. One gate will open into the pasture and the other gate opens outside the pasture. This will be so convenient.
I tried the sand out the next morning after we got it spread before the panels were up. I exercised Cody before a ride, and as I feared, it was really boggy. She had a very hard time moving around in it. But it was also pretty moist because the sand was wet when they dumped it. As it dries out, it may only get more 'surgary'. We'll give it some time. It may be alright. When we were setting the panels up it already felt much firmer and drier, but time will tell. Over time it will also mix with the base and firm up too, but that will be quite a while away.
I did excercise Chico in it before our ride this morning and it is not as boggy as it was a few days ago. It's still a lot of work to move in it, but it is better. I'm not currently planning to change it. Just wait and see how it settles.
I'm really very happy with the round pen. I wish Griffin's eye was okay because I'm dying to get him into it. But I don't want to push him when his vision is compromised and I certainly don't want to accidently get sand in his eye.


No comments:
Post a Comment